Slack
Make sure that you have administrator access to your Slack account, as the following actions require these rights.
Creating the Slack application
To create a new Slack application, you need to log in under an account that has administrator rights. Follow the link "Slack API: Applications" (https://api.slack.com/apps). Click the "Create New App" button.

In the "Create New App" window that opens, fill in the App Name field, select your team in the Development Slack Workspace and click "Create App". We recommend using Yva as the name of the application.

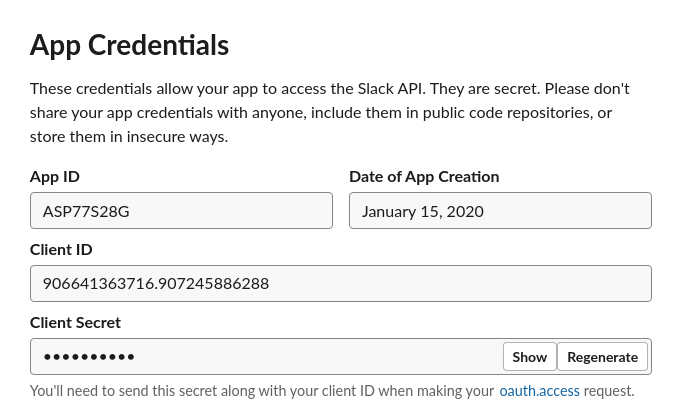
The Yva app has been created. Scroll to the "App Credentials" section of the page that opens and save the Client ID and Client Secret values, they will be required to configure the platform Yva.ai.
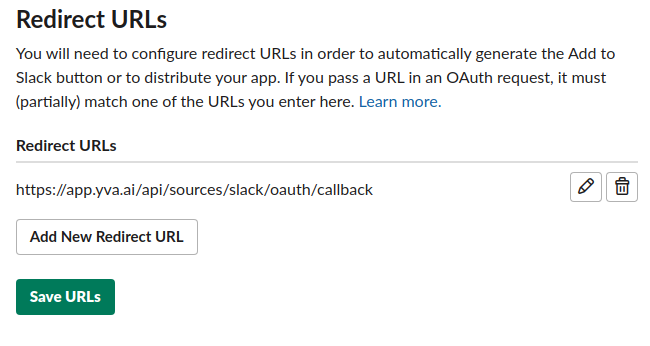
Next, go to the "Features - OAuth & Permissions" page using the menu on the left. In the "Redirect URLs" section, click "Add a new Redirect URL" and fill in the fields as follows:
https://your_Yva/api/sources/slack/oauth/callbackThen save the changes by clicking the "Add" and "Save URLs" buttons.
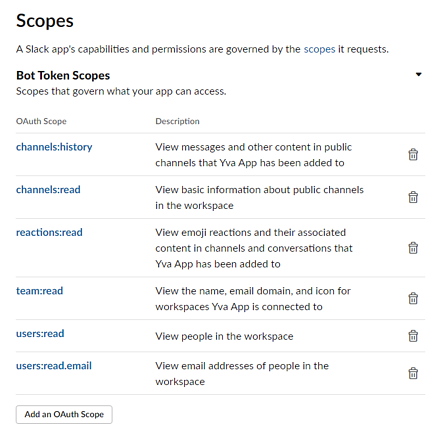
Scroll to the "Scopes" section and use the "Add an OAuth Scope" button to add the following rights:
channels:history
channels:read
reactions:read
users:read
users:read.email
team:read
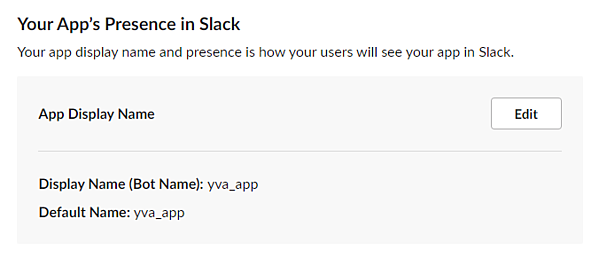
Then go to the "App Home" page using the menu on the left and, if necessary, change the name and default name for the bot, and then save the changes with the "Save Changes" button. On behalf of this bot, users will receive surveys if they are included in your Yva.ai.
As a result of completing all the steps of the instructions, you should still have the following artifacts:
Application Name
Client Id
Client SecretData source configuration
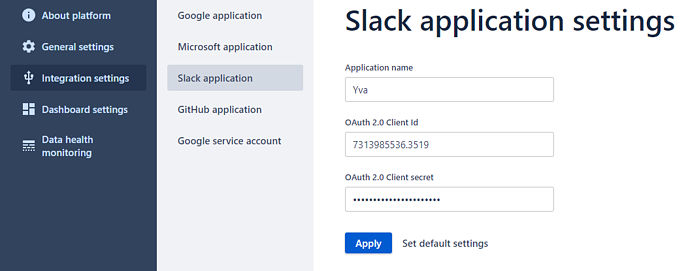
The artifacts obtained as a result of creating the application must be entered in the administrative part of the Yva platform. You can go there at https://your_Yva/admin. Select the section "Integration settings-Slack application". After entering, save the settings by clicking the "Apply" button.
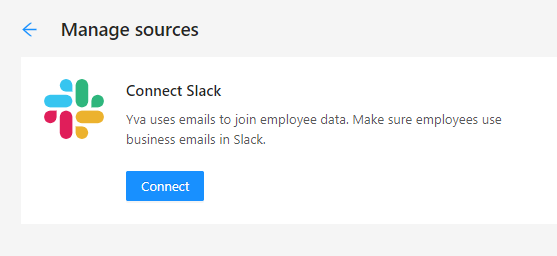
Next, you need to go to "Administration-Manage sources" of your workspace. You can do this at https://your_Yva/dashboard. And add Slack as a source.
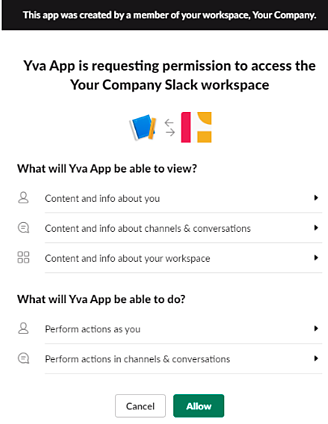
Allow the application to access the requested rights.
After connecting, the connected Slack command will appear on the right side of the Source Management page.
We also draw your attention to the fact that you can connect an unlimited number of Slack workspaces in Yva. To do this, you need to log in to the Slack workspace that you want to connect, and repeat the steps from the https://findoteam.atlassian.net/wiki/spaces/YHCE/pages/1520009491/Slack#Data-source-configuration.