Microsoft Office 365
Make sure that you have administrator access to your Microsoft account, as the following actions require these rights.
The interaction of the Yva platform with MS Office 365 is carried out using an encrypted protocol via the Microsoft Graph API, a detailed description of the technology is available at the link - .https://docs.microsoft.com/en-us/graph/overview
Creating an Office 365 application
To create an application, you will need a Microsoft account. Since you are using MS Office 365, you already have it. To connect correctly, you need to use an account that has administrator rights in Office 365.
To create an application, you will need to specify the address of your platform (depending on the type of installation, it can be eeu.yva.app or your own domain). For example, the domain will be used yva.company.com.
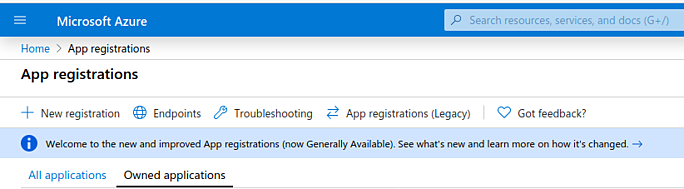
To start creating an application, you need to go to the application registration page https://portal.azure.com/#blade/Microsoft_AAD_RegisteredApps/ApplicationsListBlade and log in with a Microsoft account. Then add a new entry by clicking the "+ New registration" button.
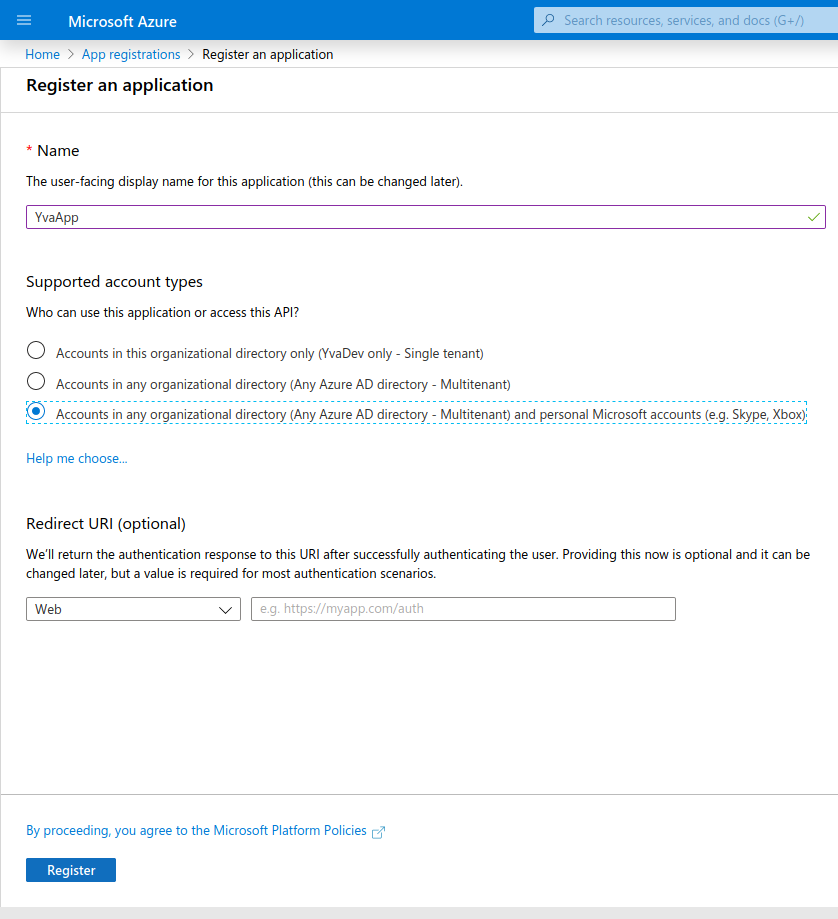
In the window that appears, specify the name of the application and register the application using the "Register" button.
We recommend using YvaApp as the application name.
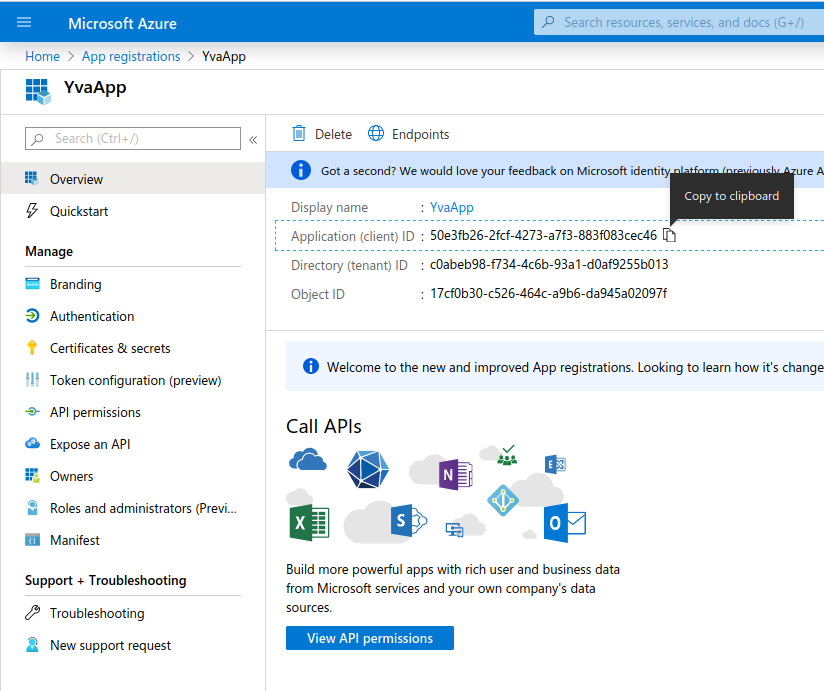
After creating the application, save the application ID (Application (client) ID). This value will be required later when setting up communication between MS Office 365 and the platform.
Then go to the "Certificates and Secrets" tab and add a new secret by clicking on the "+ New client secret " button. In the window that opens, select the expiration date of the secret-never (Expires - Never) and click "Add". Save the value of the created secret. In the future, it will be required to configure the connection between MS Office 365 and the platform.

Next, go to the "Api permissions - Add a permission" tab and click "Microsoft Graph".
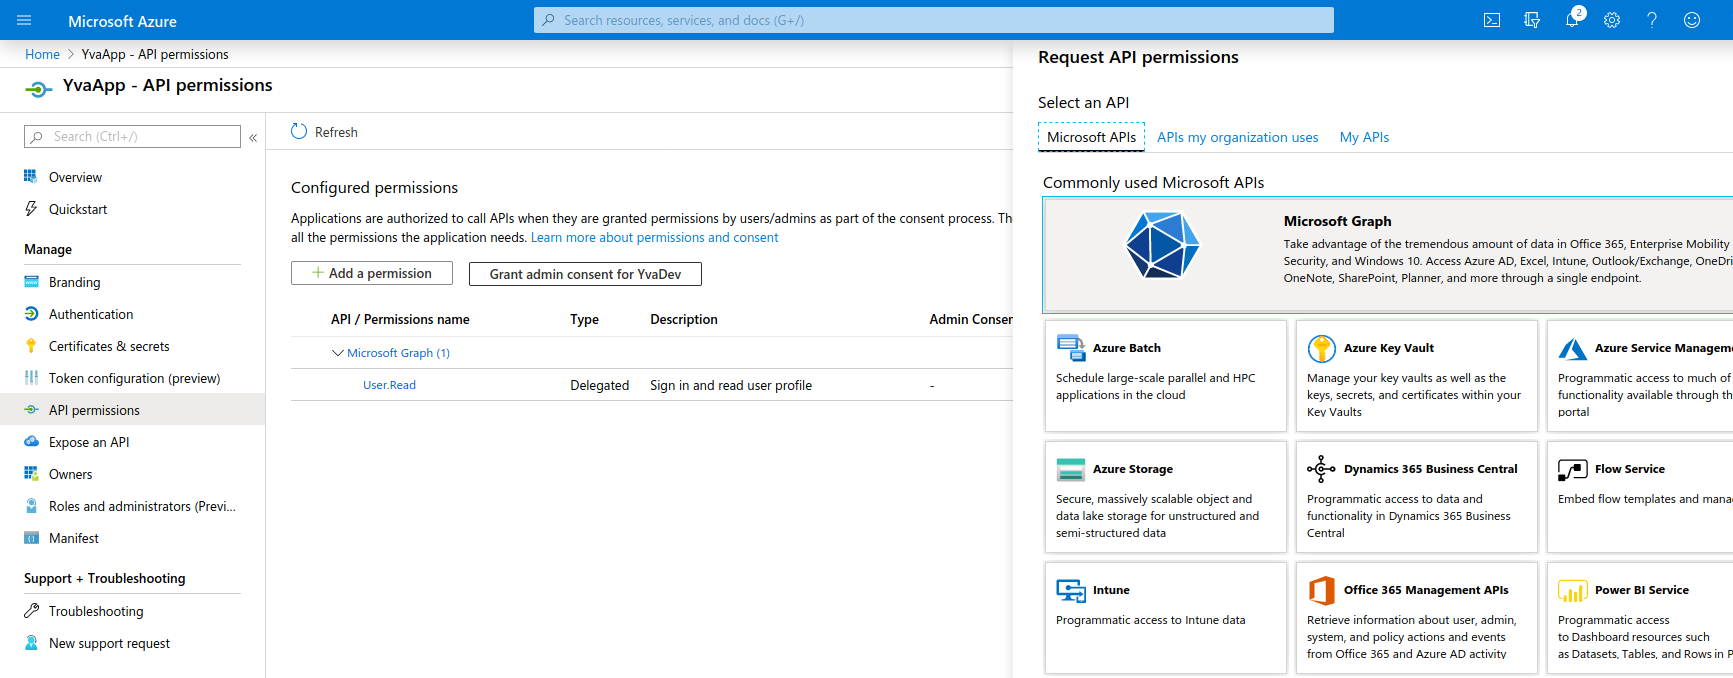
Select "Application permissions" and, using the Search, add the following rights, confirming the addition with the "Ok"button:
ChannelMessage.Read.All
Mail.Read
User.Read.All
Directory.Read.All
Click the "Add permissions" button, and then "Grant admin consent" and follow the suggested instructions.

Then you need to go to the "Authentication" section and add the following URIs for the redirect.
https://yva.company.com/sso/externallogin/callback
https://yva.company.com/api/sources/office365/oauth/callback
Instead of yva.company.com use the URL of your platform Yva.ai
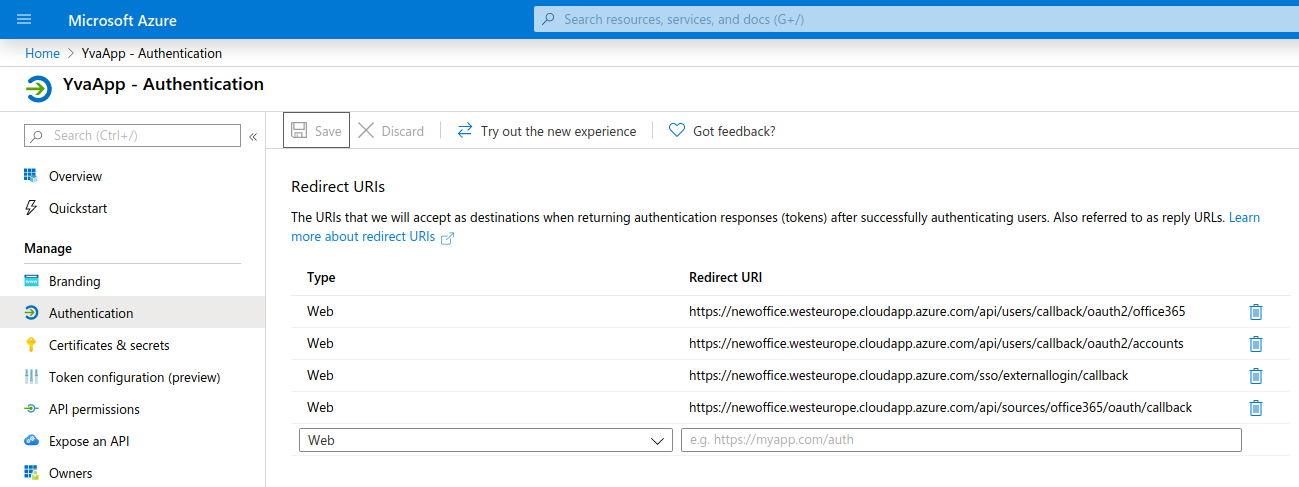
Save your changes using the"Save" button
As a result, the following values will be required for further configuration:
Application Name
Application ID
The secret of the applicationData source configuration
The data obtained as a result of creating the application must be entered in the administrative interface of the platform at https://your_Yva/admin. Go to "Integration settings-Microsoft application", fill in the necessary fields with data and confirm by clicking the "Apply" button.

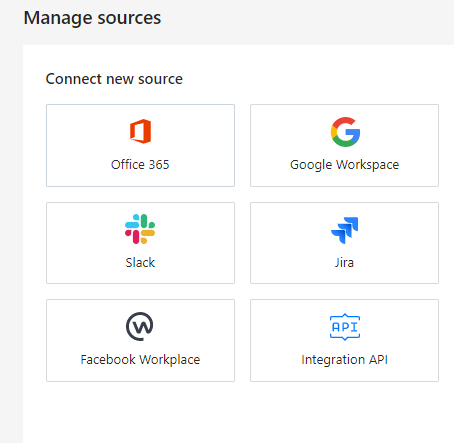
The next step is to connect the data source in the platform settings. To do this, go to "Administration-Source Management". Then click on "Office 365" in the "Connect a new source" section.
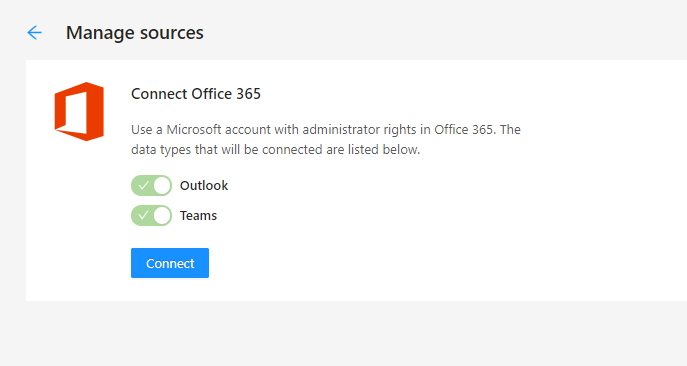
Confirm the connection using the "Connect" button.
We also draw your attention to the fact that you can connect an unlimited number of Office 365 workspaces in Yva. To do this, you need to log in to the Office 365 workspace that you want to connect, and repeat step 2 from the https://findoteam.atlassian.net/wiki/spaces/YHCE/pages/1520009266/Microsoft+Office+365#Data-source-configuration